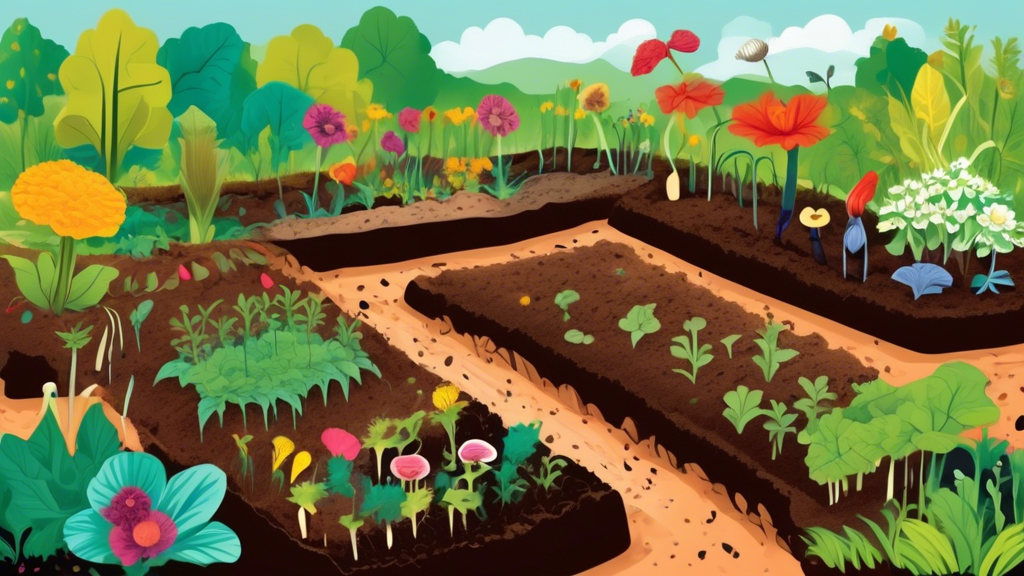
What is Vermicomposting and Why Should You Start?
Beyond the Bin: The Magic of Worm Castings
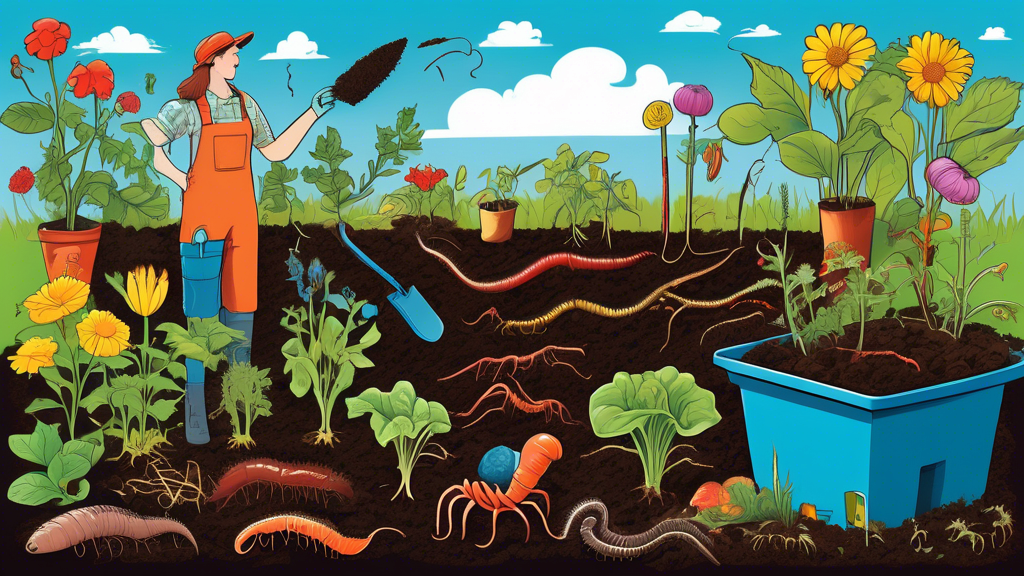
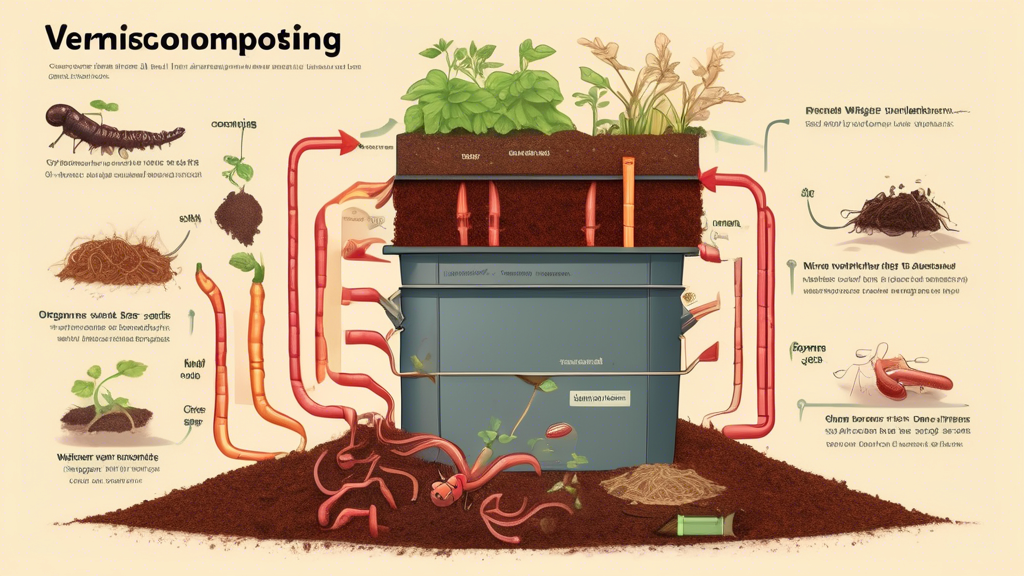
Vermicomposting is the process of using specific species of worms to break down organic waste into a high-quality soil amendment known as vermicompost, or worm castings. These castings are not just ordinary compost; they are a “super-fertilizer” teeming with beneficial microbes, nutrients in a plant-available form, and humic acids that improve soil structure.
Unique Insight: Worm castings contain a unique microbiome of beneficial bacteria and fungi that can help suppress certain plant diseases and soil-borne pests. This creates a form of natural biocontrol, a benefit that goes far beyond simply providing nutrition to your plants.
Problems Vermicomposting Solves
- “I live in an apartment and have no space for a compost pile.” Vermicomposting systems are compact, can be kept indoors (like under a sink), and are odorless when managed correctly.
- “My backyard compost pile is slow and attracts pests.” Worms work quickly and efficiently indoors, away from common pests like raccoons, rodents, and flies.
- “I want to reduce my kitchen waste but don’t know how.” It provides a direct, tangible, and rewarding solution for diverting food scraps from the landfill.
- “I want to grow healthier plants without chemical fertilizers.” Worm castings provide a complete, slow-release, organic nutrient source that improves overall plant health and soil vitality.
Getting Started: Your First Vermicomposting Bin
Choosing the Right Worms (Not All Worms Are Created Equal)
The ideal species for vermicomposting is the Red Wiggler (Eisenia fetida). They are surface-dwellers, prolific breeders, and have a voracious appetite, making them perfectly adapted for life in a bin. Common garden earthworms are not suitable as they are soil burrowers and will not thrive in a confined composting environment.
DIY vs. Commercial Worm Bins: A Quick Comparison
| Type | Pros | Cons | Best For |
|---|---|---|---|
| DIY Bin (e.g., Stacked Totes) | Very low cost, highly customizable, uses recycled materials. | Requires more initial setup, potential for errors in drainage/airflow. | Budget-conscious beginners and DIY enthusiasts. |
| Commercial Bin | Often more efficient (e.g., continuous-flow), better-designed airflow and drainage, aesthetically pleasing. | Higher upfront cost, less customizable. | Those who value convenience, efficiency, and a tidy appearance. |
The Perfect Bedding and Environment
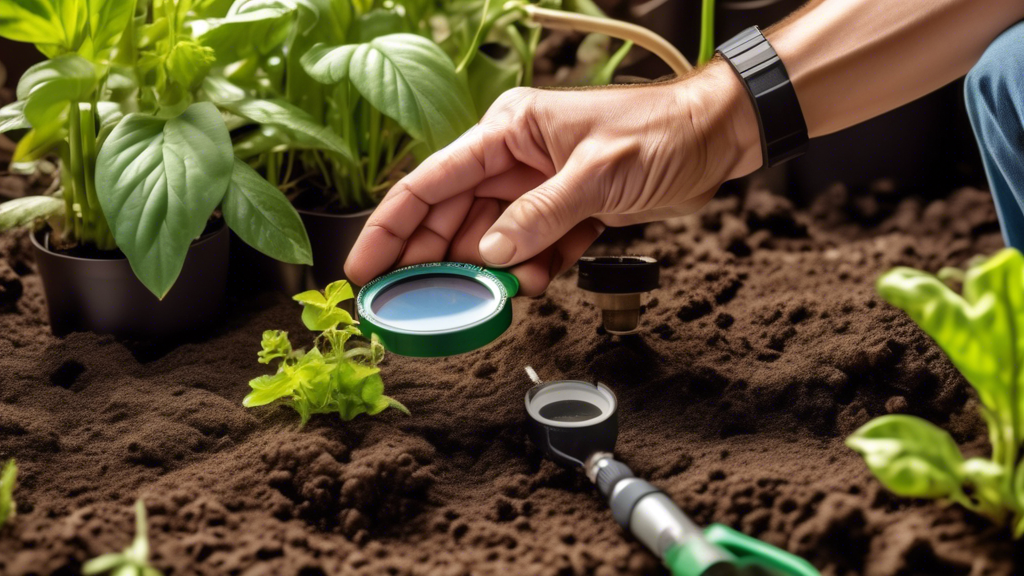
Your worms’ bedding is their home. Good options include shredded newspaper (non-glossy), cardboard, coconut coir, or fallen leaves. The bedding should be moist, with a consistency like a wrung-out sponge, and fluffy to allow for air circulation. Maintain a temperature between 55°F and 77°F (13°C and 25°C) for optimal worm activity.
The Daily Routine of Efficient Vermicomposting
What to Feed Your Worms (The “Green Light” List)
- Fruit and vegetable scraps
- Coffee grounds and filters
- Tea bags (staples removed)
- Crushed eggshells (provide grit for their digestion)
What to Avoid (The “Red Light” List)
- Meat, bones, and dairy products
- Oily, greasy, or processed foods
- Onions and garlic in large quantities
- Citrus peels in excess
Unique Insight: The reason for avoiding oily foods and excessive citrus is more than just preference. Oily foods can coat the worms’ skin, inhibiting their ability to breathe through it. Highly acidic foods (like too much citrus) can create a hostile pH environment in the bin, causing stress and potentially harming your worm population.
Troubleshooting Common Worm Bin Problems
| Problem | Likely Cause | Solution |
|---|---|---|
| Fruit Flies | Exposed food scraps. | Bury food scraps completely under bedding. Use a fruit fly trap nearby. |
| Bad Odors | Overfeeding, anaerobic conditions (lack of air). | Stop feeding for 1-2 weeks. Fluff the bedding to add air. Add more dry, carbon-rich bedding (shredded paper). |
| Worms Trying to Escape | Unfavorable bin conditions (too wet, too acidic, not enough food). | Check moisture and add dry bedding if needed. Check pH by avoiding acidic foods. Ensure a steady food supply. |
Harvesting the Black Gold: How to Collect Your Compost
The Light Harvest Method
Move the finished compost to one side of the bin. Shine a bright light over the bin for several hours. The worms are photophobic and will burrow away from the light and down into the bedding, allowing you to scoop out the finished, worm-free castings from the top and the now-empty side.
The Side-to-Side Migration Method
Push all of the finished compost and bedding to one half of the bin. Add fresh, moist bedding and new food scraps to the empty half. Over the next few weeks, the worms will naturally migrate to the new food source, allowing you to harvest the finished compost from the original side.
Vermicomposting vs. Traditional Composting: Which is Right for You?
| Factor | Vermicomposting | Traditional Composting |
|---|---|---|
| Speed | Faster (typically 2-3 months) | Slower (typically 6-24 months) |
| Space Required | Minimal; works indoors (apartments, garages) | Significant; requires a yard or outdoor space |
| Primary Inputs | Kitchen scraps (fruit/vegetables) | Kitchen scraps + yard waste (leaves, grass) |
| Primary Outputs | Worm castings (super-fertilizer), leachate | Bulk compost, excellent for soil amending |
| Odor & Pests | Odorless when managed; minimal pest issues | Can attract flies and pests if not managed well |
Frequently Asked Questions (FAQs) About Vermicomposting
Can I have too many worms?
The worm population is self-regulating and will stabilize based on the available food and space in your bin. If the population does become very dense, it’s a great opportunity to start a second bin or share your worms with a friend!
Do I need to grind up the food scraps?
No, it’s not necessary. However, chopping or freezing and thawing your scraps will significantly increase the surface area, allowing the worms and microbes to break them down much faster, making the entire process more efficient.
Is it okay to leave my worm bin for a vacation?
Yes! A well-established bin with plenty of bedding can be left for 3-4 weeks without issue. Before you leave, feed them a larger portion of a “slow-release” food, like a half of a pumpkin or a whole corn cob, which will take them longer to process.
What is the liquid that drains from the bin? Is it “worm tea”?
This liquid is called leachate. It is the liquid that has percolated through the decomposing waste and can contain compounds that are not fully broken down. It should be diluted heavily (at least 10:1) if used in the garden. True, high-quality worm tea is an aerated compost tea made by actively brewing finished worm castings in oxygenated water, which multiplies the beneficial microbes.
Conclusion: Vermicomposting is a win-win solution, effectively turning your household kitchen waste into a powerful, free garden amendment. It’s a simple, space-efficient process that connects you to the natural cycle of decay and growth. By setting up your own mini-ecosystem, you take a direct step towards a more sustainable lifestyle and a healthier garden.