Diagnosing the Problem: Why Your Rock Bed Flowers Are Struggling
The “False Friend” of Moisture
Rocks on the surface can create a deceptive microclimate. While they may seem to retain moisture underneath, they often heat up in the sun, baking the soil and accelerating evaporation. Water can also run off the stones instead of penetrating deeply to the roots, leaving your plants thirsty.
The Silent Nutrient Battle
As organic matter in the soil decomposes, it’s not being replenished, leading to nutrient-deficient soil over time. The rocks themselves don’t contribute any nutrients and can make top-dressing with compost difficult, slowly starving your plants.
Unseen Soil Compaction
The weight of the rock layer can gradually compact the soil beneath, creating a hardpan that makes it difficult for roots to spread, for water to drain properly, and for essential oxygen to circulate to the root system.
The Wrong Plant in the Wrong Place
Many common flowering plants need rich, consistently moist soil. A standard rock bed environment—prone to heat, dryness, and poor soil—is the opposite of what they need to thrive, leading to immediate stress and failure.
The Rescue Plan: Practical Steps to Save Your Garden
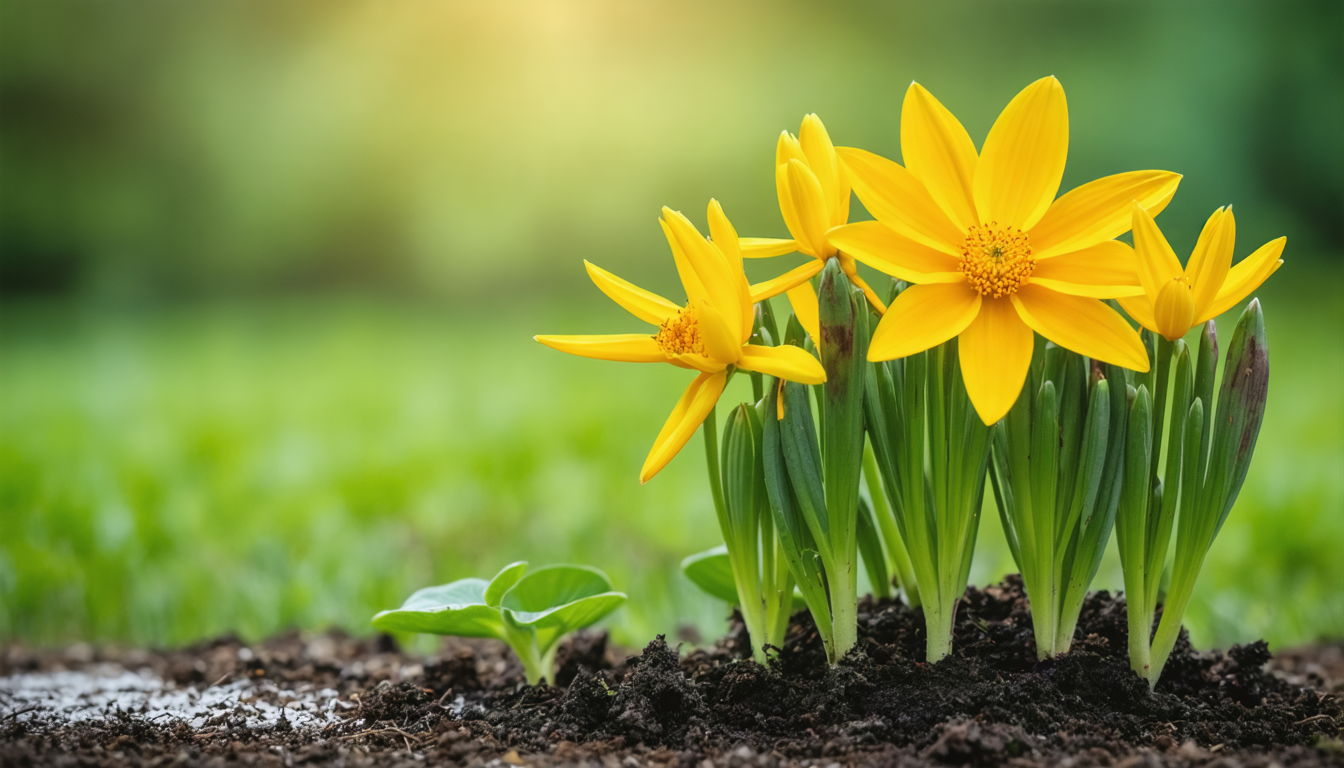
Step 1: The Soil Assessment and Amendment
Carefully rake back the rocks from around the base of your struggling plants. Test the soil for compaction by pushing a stick into the earth; if it’s difficult, the soil is too compacted. Work in a generous amount of compost or well-rotted manure to improve soil structure, nutrients, and water retention.
Step 2: Strategic Watering Techniques
Implement soaker hoses or drip irrigation *underneath* the rock layer to deliver water directly to the roots, avoiding evaporation. Learn the “finger test” to check soil moisture 2-3 inches below the surface rocks before watering—this is more reliable than a set schedule.
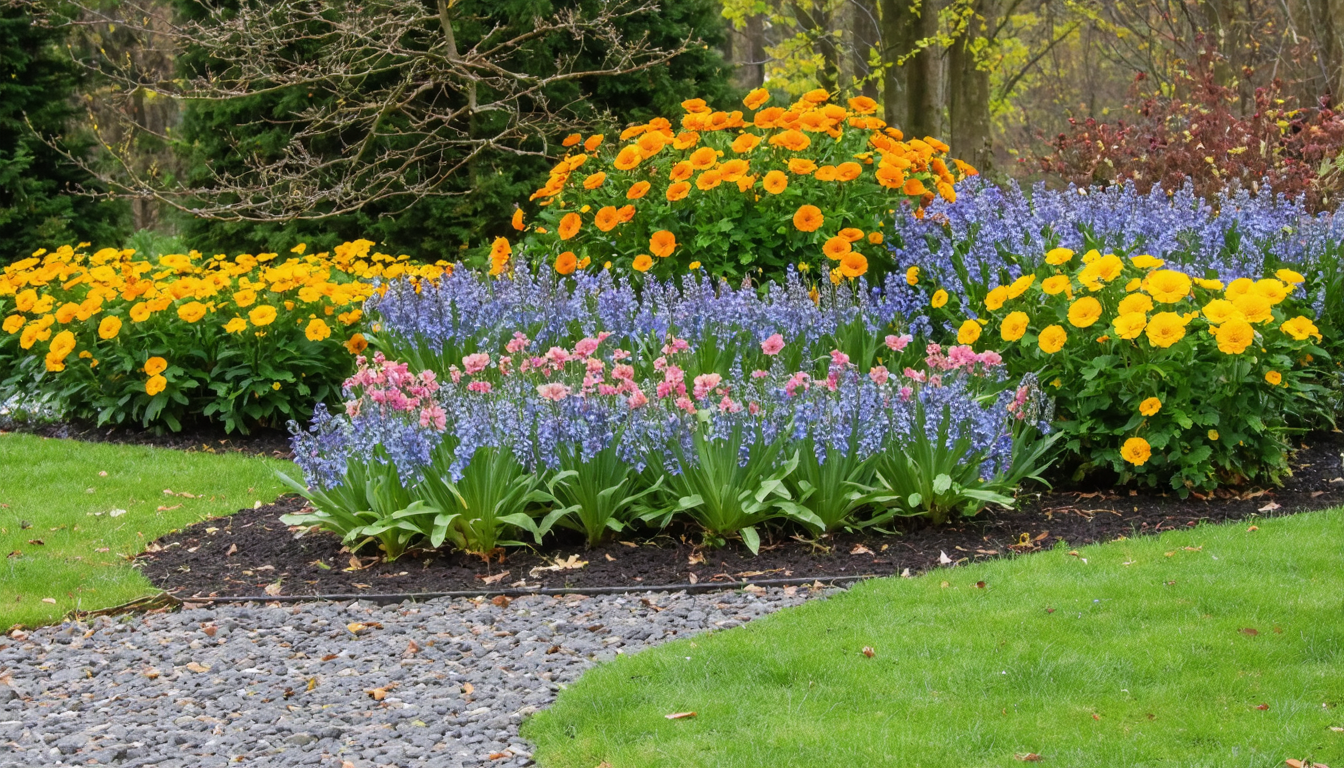
Step 3: The Right Plant, Right Place Principle
If your current flowers are too far gone, it’s time to replant with species that are naturally adapted to the challenging conditions of a rock bed.
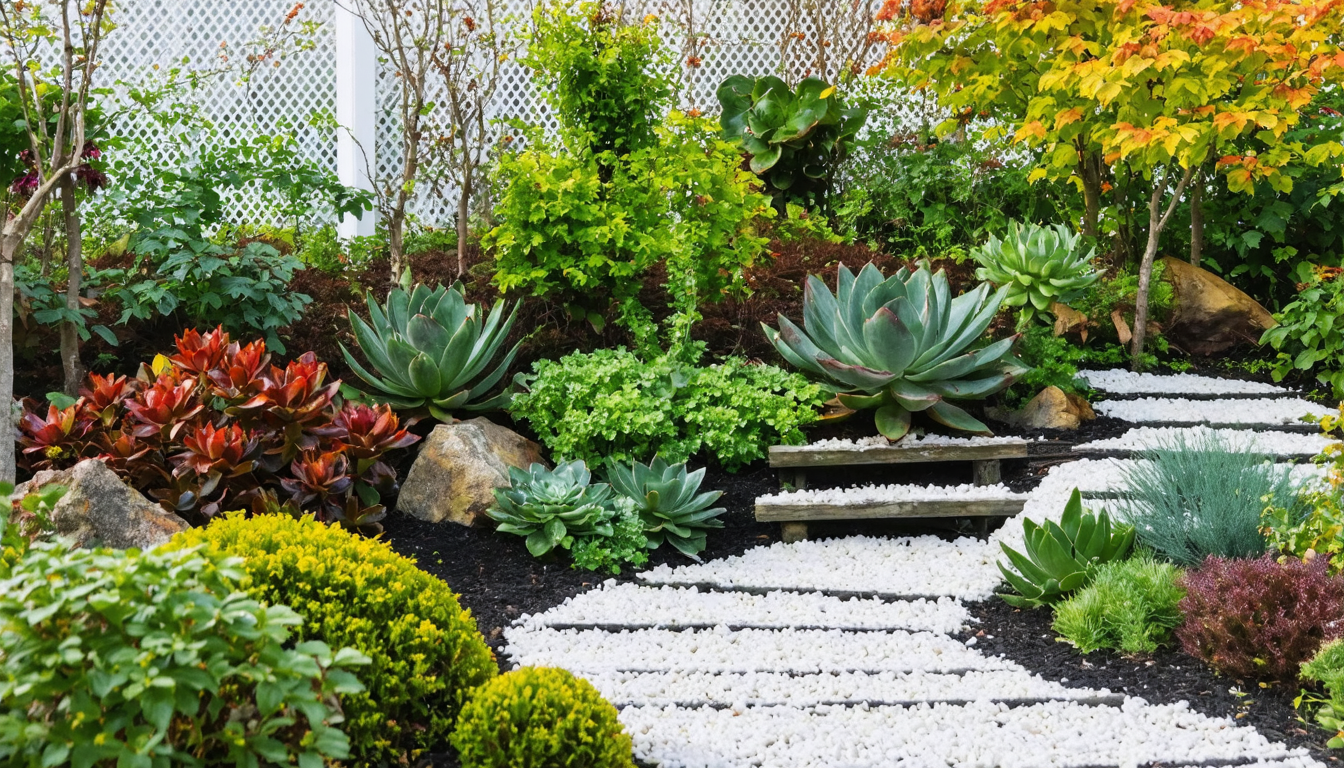
Rock Bed Champions vs. Rock Bed Fails: A Plant Comparison
Plants to Embrace (Drought-Tolerant & Tough)
| Plant Name | Key Characteristic | Why It Works |
|---|---|---|
| Sedums (Stonecrop) | Succulent foliage | Thrives on neglect and stores water in its leaves. |
| Lavender | Aromatic, purple spikes | Loves well-drained, gritty soil and full sun; hates wet feet. |
| Yarrow | Flat-topped flower clusters | Extremely tough, drought-resistant, and spreads easily. |
| Russian Sage | Airy, purple flowers | Thrives in hot, dry conditions and poor soil. |
| Thyme (Creeping) | Low-growing, mat-forming | Fragrant, handles light foot traffic, and is very drought-tolerant. |
Plants to Avoid (Moisture & Nutrient Lovers)
| Plant Name | Key Need | Why It Fails |
|---|---|---|
| Impatiens | Constant moisture & shade | Will wilt and die quickly in the hot, dry rock bed environment. |
| Hostas | Rich, cool, moist soil | Their large leaves lose water rapidly and they need consistent soil moisture. |
| Roses | Deep, fertile soil | Require consistent feeding and watering, which a basic rock bed cannot provide. |
| Hydrangeas | Ample and consistent water | Their name literally means “water vessel”; they are famous for their thirst. |
A Pro Secret: The “False Bottom” Method
A true, successful rock garden doesn’t just have rocks on top; it has rocks *below*. Before you even plant, creating a deep, fast-draining subsoil layer is the key to mimicking the natural, well-drained slopes where alpine and drought-tolerant plants evolved. This gives them the perfect foundation from the roots up, preventing waterlogging and encouraging deep, strong root growth.
How to Create a “False Bottom”
- Excavate: Dig your bed 8-12 inches deeper than your intended planting depth.
- Drainage Layer: Add a 4-6 inch base layer of coarse gravel or crushed stone.
- Barrier: Place a layer of permeable landscape fabric over the gravel to prevent soil from washing down and clogging the drainage layer.
- Soil Mix: Fill the remainder with a specially mixed, gritty soil. A good recipe is 1 part topsoil, 1 part compost, and 1 part sharp sand or horticultural grit.
- Top-Dress: Finally, add your decorative top-dressing of rocks.
Frequently Asked Questions (FAQs) for the Worried Gardener
Can I just put potting soil under the rocks to help my flowers?
A: Potting soil alone is not a long-term solution. While it’s rich initially, it can break down quickly, become compacted, and hold too much moisture against the plant’s crown, potentially causing rot. A blend of topsoil, compost, and inorganic material (like sand or small gravel) is far superior for creating a stable, well-draining, and nutrient-balanced environment.
How often should I water flowers in a rock bed?
A: There’s no universal schedule. The answer depends entirely on your climate, the specific plants you’ve chosen, and your soil composition. The best method is the “finger test”: check the soil 2-3 inches down. If it’s dry, water deeply until it runs out the bottom (if you have a false bottom). If it’s moist, wait. This is infinitely more reliable than watering on a fixed schedule.
Is it too late to fix my rock bed, or should I just start over?
A: It depends on the health of your current plants. If they are only slightly wilted and have some green growth, you can try the “Rescue Plan” steps above. If the plants are brown, brittle, and show no signs of life, it is more efficient and less frustrating to remove them and start fresh with better soil preparation and appropriate plant selection. View this not as a failure, but as a valuable learning experience that will lead to future success.
Do I need to remove all the rocks to fix the soil?
A: For a thorough and effective fix, yes, it’s highly recommended. Raking them back temporarily into a pile allows you to properly assess, aerate, and amend the soil across the entire root zone of your plants. You can then replace them once your new, healthier plants are established. Trying to work around the rocks will lead to incomplete soil improvement.