Why Start a Permaculture Food Forest?
Embarking on the journey of creating a food forest is a shift from fighting nature to collaborating with it. Before diving into the “how,” let’s explore the compelling reasons to make this change.
The Challenges of Conventional Gardening
Many gardeners find themselves in a constant battle, facing issues that a food forest system is designed to overcome.
- High water consumption and escalating utility bills.
- Endless cycles of weeding and chemical pest control.
- Soil that becomes depleted, requiring constant fertilizer inputs.
- Vulnerability to weather extremes and short, single harvest windows.
The Rewards of a Food Forest Ecosystem
A permaculture food forest offers a resilient and abundant alternative by working with natural processes.
- Builds rich, living soil that becomes more fertile each year.
- Drastically reduces water needs through deep root systems and ground cover.
- Creates a self-fertilizing and self-policing environment.
- Provides a diverse and continuous harvest across multiple seasons.
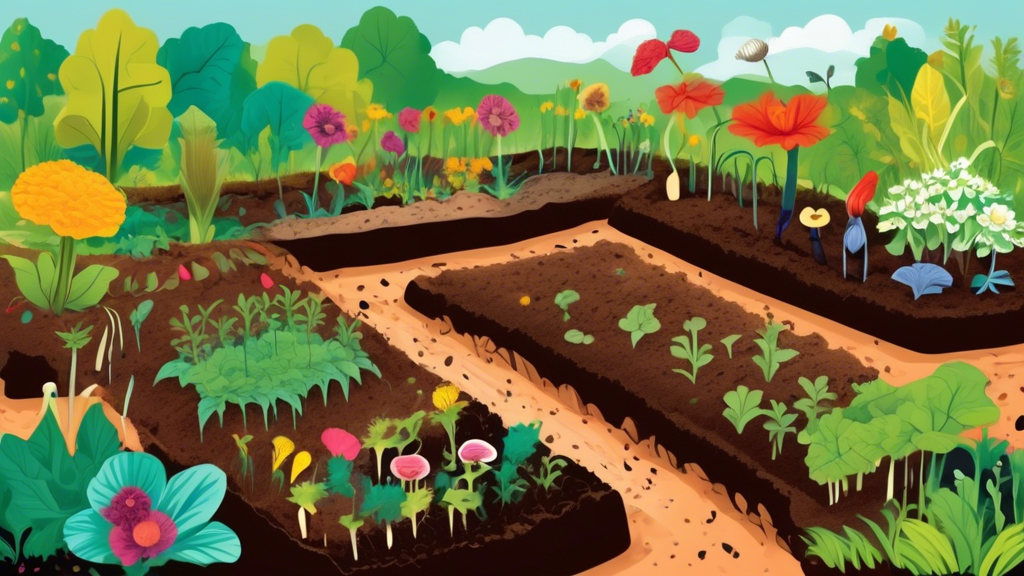
The 7 Layers of a Food Forest: Understanding the Architecture
The magic of a food forest lies in its vertical structure, which mimics a natural woodland. By planting in layers, you maximize space, light, and resources.
| Layer | Description | Example Plants |
|---|---|---|
| Canopy (Tall Trees) | The tallest layer, consisting of large fruit and nut trees. | Apple, Pecan, Pear |
| Understory (Small Trees & Large Shrubs) | Smaller trees that thrive in the dappled light below the canopy. | Pawpaw, Serviceberry, Hazelnut |
| Shrub Layer | Bushes that produce berries and other fruits. | Blueberries, Currants, Gooseberries |
| Herbaceous Layer | Non-woody plants including culinary herbs, perennial vegetables, and beneficial flowers. | Comfrey, Rhubarb, Mint, Borage |
| Rhizosphere (Root Crops) | Plants that produce edible roots below the soil surface. | Horseradish, Sunchokes, Sweet Potatoes |
| Ground Cover (Soil Surface) | Low-growing plants that protect the soil and suppress weeds. | Strawberries, Creeping Thyme, Clover |
| Vertical Layer (Climbers & Vines) | Vines that climb up trees, shrubs, or trellises. | Grapes, Kiwi, Malabar Spinach |
Your Step-by-Step Guide to Creating a Permaculture Food Forest
Step 1: Observation & Design (The Most Critical Step)
Resist the urge to start planting immediately. Spend at least one full season observing your land. Track the sun’s path, note where water pools, and identify windy areas. Sketch a map and design your food forest using permaculture zoning principles, placing the plants you’ll use most often closest to your home for easy access.
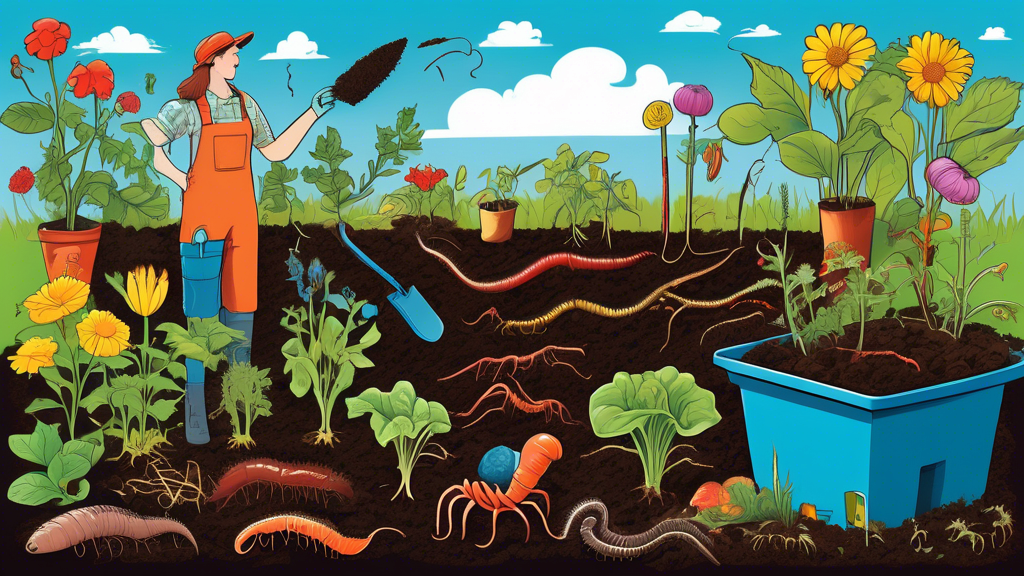
Step 2: Soil Preparation & Learning from the Landscape
Healthy soil is the foundation of your food forest. Instead of seeing weeds as enemies, view them as messengers. Dandelions and compacted soil often go hand-in-hand, while the presence of nettles can indicate high soil fertility. These plants are nature’s own soil report card. Begin building soil without disruptive tilling by using the sheet mulching method (also known as lasagna gardening), which layers cardboard, compost, and straw to smother weeds and create a rich planting bed.
Step 3: Planting the “Framework” Species
Your first plants should be the long-term anchors of the system: the canopy and understory trees. When selecting fruit and nut trees, consider incorporating nitrogen-fixing trees like Alder or Black Locust as “nurse trees.” These pioneers will create favorable microclimates and add essential nitrogen to the soil, nurturing your food-producing trees as they establish themselves.
Step 4: Filling in the Guilds
A guild is a carefully selected community of plants that support a central element, like a fruit tree. Each plant in the guild has a function. For example, a classic Apple Tree Guild might include:
| Plant | Role in the Guild |
|---|---|
| Apple Tree | Central canopy tree (food producer) |
| Currant Bush | Shrub layer (food producer) |
| Comfrey | Herbaceous layer (mineral accumulator & mulch plant) |
| Chives | Herbaceous layer (pest repellent) |
| Clover | Ground cover (nitrogen fixer & weed suppressor) |
Step 5: Mulching and Initial Watering
After planting, apply a thick layer of organic mulch (wood chips, straw, or leaves) to conserve moisture, suppress weeds, and feed the soil biology. While a mature food forest is drought-resilient, young plants need support. Install a simple soaker hose or drip irrigation system to ensure they get established during the first few critical years.
Step 6: Management and Observation (The “Wait and Watch” Phase)
This is where your role shifts from a builder to a steward. Your primary job is to observe how the ecosystem is developing. Intervene only when necessary—for example, to manage an overwhelming pest population or to add more mulch. The system is learning to manage itself, and your patience will be rewarded with a truly low-maintenance landscape.
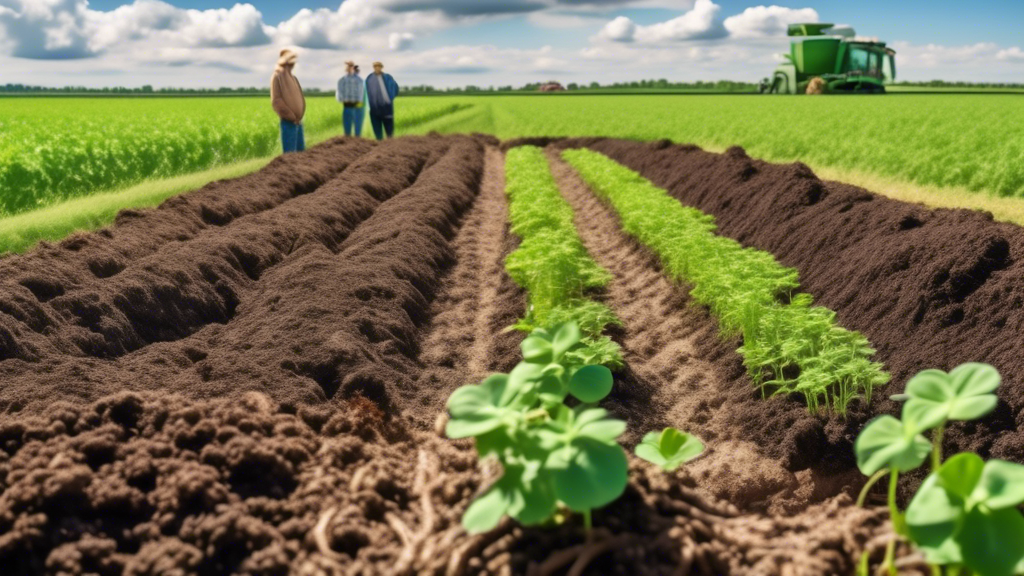
Food Forest vs. Traditional Orchard: A Key Comparison
| Aspect | Food Forest | Traditional Orchard |
|---|---|---|
| Biodiversity & Ecosystem | High biodiversity; creates a complex, resilient web of life that supports pollinators and beneficial insects. | Typically a monoculture; simpler ecosystem that is more vulnerable to pests and diseases. |
| Maintenance & Inputs | Low maintenance after establishment; self-fertilizing and self-weeding through plant partnerships. | High maintenance; requires regular pruning, spraying, fertilizing, and mowing. |
| Yield & Harvest | Diverse yields including food, medicine, mulch, and craft materials throughout the year. | Single primary crop yield for a limited season. |
Frequently Asked Questions
How much space do I need for a food forest?
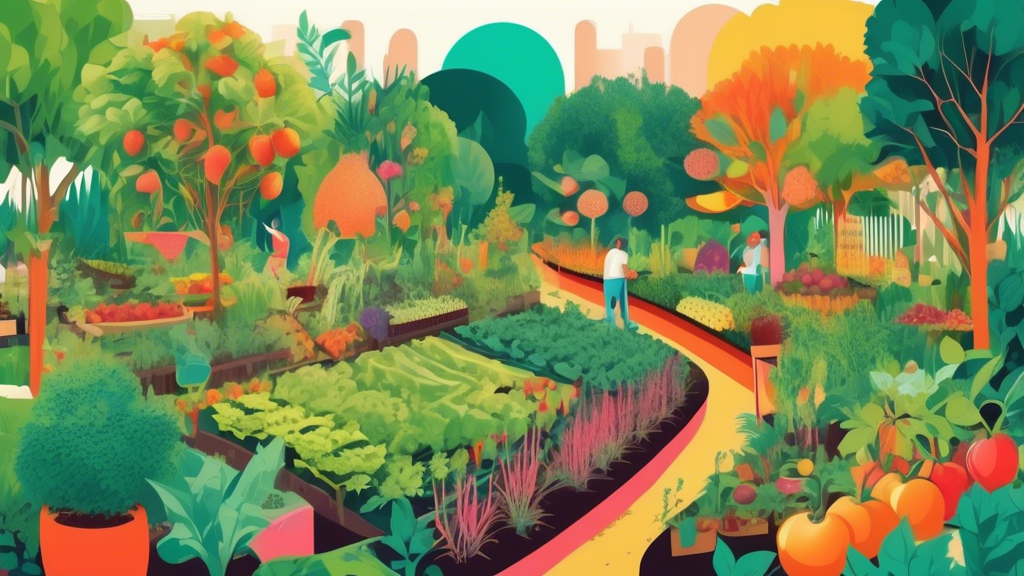
The principles of a food forest can be applied to any scale. You can create a productive micro-food forest in a small urban backyard or on a balcony using containers. The design simply condenses the seven layers into the available space.
How long does it take for a food forest to become established?
You can begin harvesting from the shrub and herbaceous layers within the first year. Your canopy trees will take 3 to 7 years or more to reach full production. A fully self-sustaining and self-regulating ecosystem typically matures over a decade.
Is a permaculture food forest really “no-work”?
It’s more accurate to call it “low-work.” The initial setup requires significant planning and labor. However, once established, the ongoing maintenance shifts from strenuous chores like tilling and weeding to light harvesting, pruning, and the enjoyable task of observing nature’s cycles.
What are the best plants to start with for a beginner?
Begin with hardy, resilient, and preferably native perennial plants. Excellent choices include comfrey for mulch and mineral accumulation, rhubarb for a reliable edible, various berry bushes, and nitrogen-fixing plants like clover and lupine to build soil health from the start.
Conclusion: Creating a permaculture food forest is a profound investment in your land’s future and your own resilience. It’s a living project that teaches patience and observation, rewarding you not just with food, but with a deeper connection to the natural world. Start small, learn from your landscape, and enjoy the journey of cultivating your own edible ecosystem.