DIY Herb Gardens for Small Spaces & Apartments: Fresh Flavors at Your Fingertips
Embrace the Joys of Homegrown Herbs
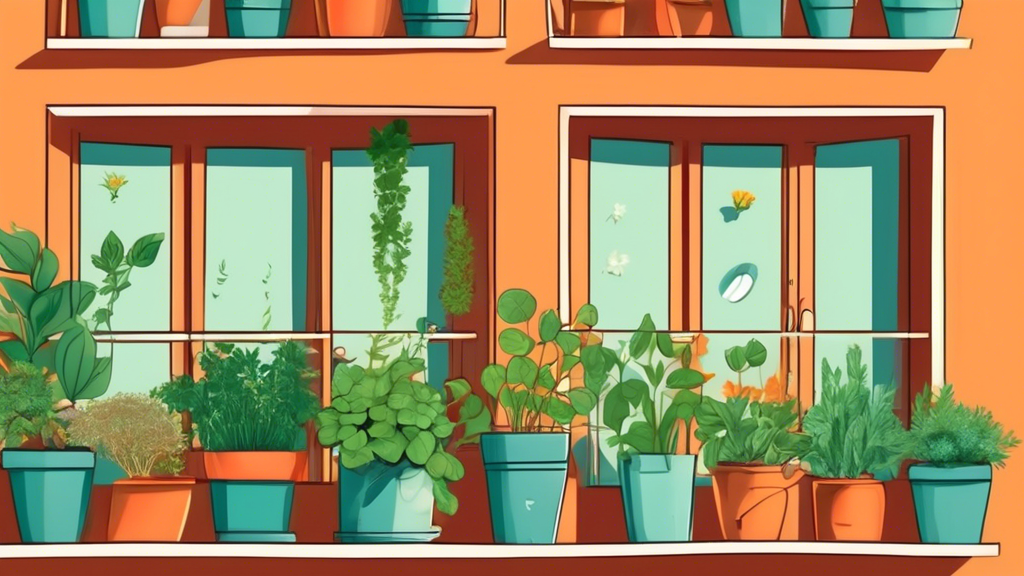
Imagine stepping onto your balcony, into your sun-drenched kitchen, or onto your cozy fire escape and plucking fresh, vibrant herbs to elevate your culinary creations. Creating an herb garden, even in a limited space, is easier than you think. With a little creativity and these inspiring ideas, you’ll enjoy the flavor, fragrance, and satisfaction of homegrown herbs year-round.
Why an Herb Garden?
Beyond the sensory delights, growing your herbs offers numerous benefits:
- Flavor Elevation: Fresh herbs pack a flavor punch that store-bought options simply can’t match.
- Cost-Effective: Growing your own herbs saves money in the long run, especially if you cook with them frequently.
- Therapeutic Benefits: Tending to plants can be incredibly therapeutic and rewarding.
- Sustainable Living: Reduce your carbon footprint by growing your produce.
- Decorative Enhancement: Herbs add a touch of natural beauty and freshness to any space.
Assessing Your Space: Sunlight, Size, and Style
Before you get started, evaluate your available space and its conditions:
- Sunlight: Most herbs thrive in at least 6 hours of direct sunlight per day. Observe how much sun your chosen area receives throughout the day.
- Space: Measure your available space, considering vertical options if floor space is limited.
- Style: Choose a style that complements your existing décor, whether it’s rustic, modern, minimalist, or eclectic.
DIY Herb Garden Projects
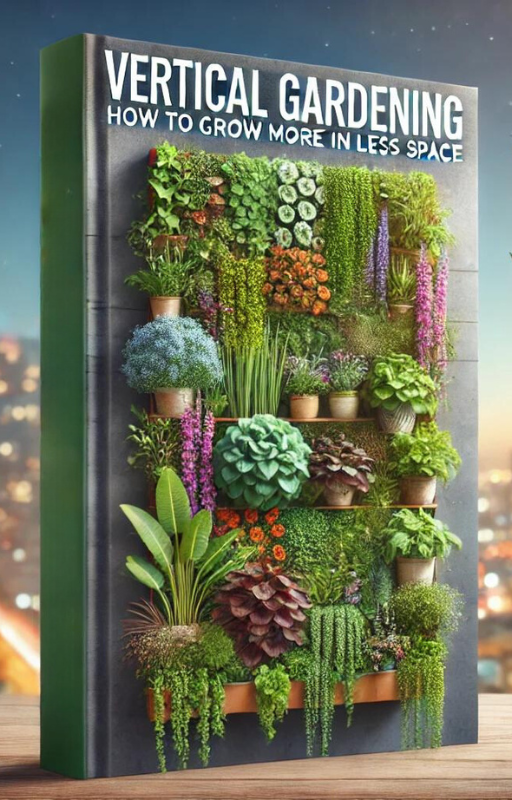
1. The Vertical Wonder: Wall-Mounted Herb Gardens
Perfect for balconies, patios, or kitchens with limited counter space, vertical gardens maximize your growing area.
Materials:
- Wooden pallets, reclaimed wood, or metal grids
- Heavy-duty landscape fabric
- Staple gun and staples
- Potting soil
- Herb seedlings or seeds
- Wall mounting hardware (if needed)
Instructions:
- Cut the landscape fabric to fit the size and number of sections you want in your vertical garden.
- Staple the fabric securely to the pallet, wood, or grid, creating individual pockets for planting.
- Fill each pocket with potting soil, leaving some space at the top.
- Plant your herb seedlings or seeds according to their specific needs.
- Water thoroughly and mount your vertical garden in a sunny location.
2. The Upcycled Charm: Repurposed Container Herb Gardens
Give old items new life by turning them into charming herb planters.
Materials:
- Vintage crates, drawers, baskets, tin cans, or mason jars
- Drill (if drainage holes are needed)
- Paint (optional)
- Potting soil
- Herb seedlings or seeds
Instructions:
- Clean your chosen containers thoroughly and drill drainage holes in the bottom if necessary.
- For a cohesive look, paint the containers in your desired colors and let them dry completely.
- Fill each container with potting soil, leaving some space at the top.
- Plant your herb seedlings or seeds according to their individual requirements.
- Water well and place your repurposed planters in a sunny spot.
3. The Windowsill Oasis: Indoor Herb Gardens
Bring the joy of gardening indoors with a sunny windowsill herb garden.
Materials:
- Decorative pots or containers with drainage holes
- Potting soil
- Herb seedlings or seeds
- Watering can or spray bottle
- Saucers or trays (to catch excess water)
Instructions:
- Choose a south-facing window that receives at least 6 hours of sunlight daily.
- Fill your pots or containers with potting soil, leaving some space at the top.
- Plant your chosen herb seedlings or seeds according to their needs.
- Water thoroughly, allowing excess water to drain into the saucers or trays.
- Rotate the pots regularly to ensure even growth and sunlight exposure.
4. The Hanging Haven: Suspended Herb Gardens
Free up counter and floor space while adding a touch of whimsy with hanging herb planters.
Materials:
- Hanging planters (choose from macrame, metal, or plastic)
- Coco liners or plastic inserts (if your planters don’t have them)
- Potting soil
- Herb seedlings or seeds
- Sturdy hooks or brackets for hanging
Instructions:
- Line your hanging planters with coco liners or plastic inserts if they don’t already have them.
- Fill the liners or planters with potting soil, leaving some space at the top.
- Plant your chosen herb seedlings or seeds, making sure they are well-spaced.
- Water thoroughly and allow excess water to drain.
- Hang your planters in a sunny location, ensuring they are securely fastened.
Choosing the Right Herbs for Your Space
Select herbs based on your personal preferences, culinary needs, and the amount of sunlight your space receives:
Sun-Loving Herbs: (6+ hours of direct sunlight)
- Basil
- Rosemary
- Thyme
- Oregano
- Sage
- Lavender
Partial Shade Herbs: (4-6 hours of sunlight)
- Chives
- Mint (best kept in separate containers to prevent spreading)
- Parsley
- Cilantro
Caring for Your Herb Garden: Nurturing Flavorful Growth
Follow these tips to keep your herbs thriving:
- Watering: Check the soil regularly and water when the top inch feels dry. Avoid overwatering, which can lead to root rot.
- Drainage: Ensure your containers have adequate drainage to prevent waterlogging.
- Fertilization: Use a balanced, organic fertilizer every few weeks during the growing season.
- Harvesting: Regularly harvest your herbs by snipping off the top few inches of growth. This encourages bushier growth and prevents the plants from becoming leggy.
- Pest Control: Inspect your plants regularly for pests and take appropriate action if needed. Natural remedies like neem oil or insecticidal soap can be effective.
Conclusion
Creating your own DIY herb garden, even in the smallest of spaces, is a rewarding and flavorful endeavor. By choosing the right herbs for your environment and providing them with proper care, you can enjoy the taste and aroma of fresh herbs all year round. So, unleash your inner gardener, get creative with your space, and savor the flavors of your very own homegrown herb garden.


