Why Start with DIY Organic Gardening? The Benefits Beyond the Harvest
The Joy of Growing Your Own Food
Experience the unmatched flavor and nutritional superiority of vegetables harvested from your own garden. There’s a profound sense of pride and accomplishment in serving a meal with ingredients you nurtured from seed to plate.
It’s Good for the Planet
Organic gardening minimizes your environmental footprint. By avoiding synthetic chemicals, you protect local water sources and soil health. You also drastically reduce “food miles,” the distance food travels to reach your table, lowering carbon emissions.
Gardening for Wellness
The act of gardening is a proven stress-reliever. Studies have shown that contact with a specific soil bacterium, *Mycobacterium vaccae*, can stimulate serotonin production, acting as a natural antidepressant. This is a unique benefit many new gardeners are pleasantly surprised to discover.
Addressing Common Beginner Challenges
“I Don’t Have a Big Yard or Any Garden Space!”
Solution Project: Container Gardening. You can grow a surprising amount of food on a balcony, patio, or even a sunny windowsill using pots, buckets, or hanging planters.
“The Soil in My Area is Terrible (or I Have No Soil)!”
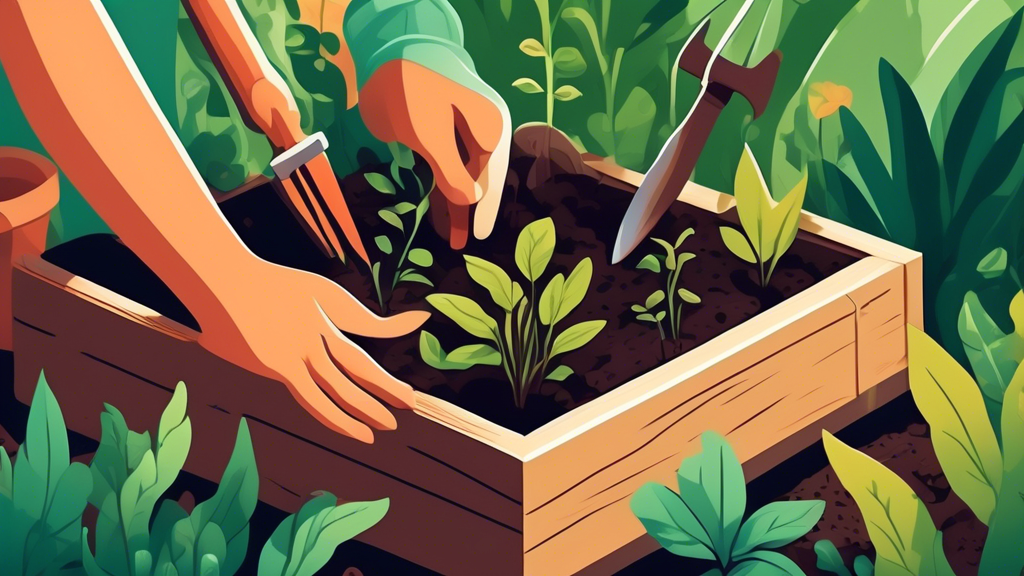
Solution Project: Building a Simple Raised Bed or a Self-Watering Container. Raised beds allow you to create a perfect soil environment from scratch, regardless of what’s underneath.
“I’m Worried About Pests and Don’t Want to Use Pesticides!”
Solution Project: Creating a Companion Planting Herb Box or a DIY Garlic & Chili Pest Spray. Nature provides its own pest control; for example, planting basil near tomatoes can help repel tomato hornworms.
“I Always Forget to Water My Plants!”
Solution Project: Making DIY Self-Watering Planters from Recycled Bottles. A simple wicking system using a plastic bottle and a cotton string can keep your plants hydrated for days.
Your First 5 DIY Organic Gardening Projects
Project 1: The Foolproof Container Garden
What You’ll Need: Pots with drainage holes, organic potting mix, seeds or seedlings.
Step-by-Step Guide: Fill container with soil, plant seeds at depth specified on packet, water gently, and place in a sunny location.
Best Beginner Plants to Try: Cherry tomatoes, lettuce, herbs (basil, mint), radishes.
Project 2: The No-Dig Raised Garden Bed
What You’ll Need: Untreated lumber or cinder blocks, cardboard, a mix of topsoil and compost.
Step-by-Step Guide: Assemble frame, lay cardboard on the ground inside to smother grass, and layer with soil and compost. This “lasagna” method enriches soil without tilling.
Best Beginner Plants to Try: Bush beans, zucchini, spinach, carrots.
Project 3: DIY Seed-Starting Pots from Newspaper
What You’ll Need: Old newspaper, a small can or jar.
Step-by-Step Guide: Wrap a strip of newspaper around the can, fold the bottom to create a base, and slide the pot off. Fill with soil and plant your seed.
The Unique Advantage: These pots are biodegradable and can be planted directly into the soil. This minimizes root disturbance for sensitive seedlings like cucumbers and squash, which gives them a stronger start—a pro-tip many beginners don’t know!
Project 4: A Windowsill Herb Garden in Upcycled Jars
What You’ll Need: Clean glass jars, small stones for drainage, organic potting mix, herb seeds or starter plants.
Step-by-Step Guide: Add a layer of stones to the jar, fill with soil, plant herbs, and water. Place on a sunny windowsill.
Best Beginner Herbs: Basil, chives, parsley, cilantro.
Project 5: Brew Your Own Nutrient-Rich Compost Tea
What You’ll Need: Finished compost, a 5-gallon bucket, dechlorinated water, a porous bag or old pillowcase, an air pump (optional but recommended).
Step-by-Step Guide: Place compost in the bag and steep it in the water for 24-48 hours. If using a pump, it adds oxygen and breeds beneficial microbes.
The Unique Advantage: This acts as a powerful, liquid fertilizer and natural disease suppressant. The living microbes in the tea improve soil health and help plants absorb nutrients more efficiently, providing a holistic health boost that synthetic fertilizers can’t match.
Organic Gardening: A Quick Comparison for Beginners
Container Garden vs. Raised Bed: Which is Right for You?
| Feature | Container Garden | Raised Bed |
|---|---|---|
| Space Needed | Minimal (balcony, patio) | Moderate (backyard, community garden) |
| Startup Cost | Low | Medium |
| Soil Control | Complete | Complete |
| Mobility | High | None |
| Best For | Renters, small spaces, herbs & salads | Homeowners, larger harvests, root vegetables |
Buying Seedlings vs. Starting from Seed
| Aspect | Buying Seedlings | Starting from Seed |
|---|---|---|
| Cost | Higher per plant | Much lower |
| Time to Harvest | Shorter | Longer |
| Variety Choice | Limited to local nursery stock | Vast (thousands of varieties online) |
| Skill Level | Beginner-Friendly | Requires more patience and care |
Frequently Asked Questions (FAQs) for the New Organic Gardener
What does “organic” really mean in gardening?
Answer: At its core, organic gardening means working with nature, not against it. It involves cultivating plants without the use of synthetic pesticides, herbicides, or fertilizers. The focus is on building healthy, living soil through composting and natural amendments, which in turn supports strong, resilient plants.
I don’t have a compost bin. How can I fertilize my plants organically?
Answer: You have several options. Start with a high-quality, store-bought organic potting mix, which often contains slow-release organic fertilizers. You can also use organic liquid fertilizers like fish emulsion or seaweed extract. The DIY compost tea project outlined above is another excellent and cost-effective method.
What are the easiest vegetables to grow for a complete beginner?
Answer: The most forgiving and successful crops for beginners are lettuce, radishes, cherry tomatoes, bush beans, and herbs like basil and mint. These are generally fast-growing, pest-resistant, and don’t require specialized knowledge to produce a satisfying harvest.
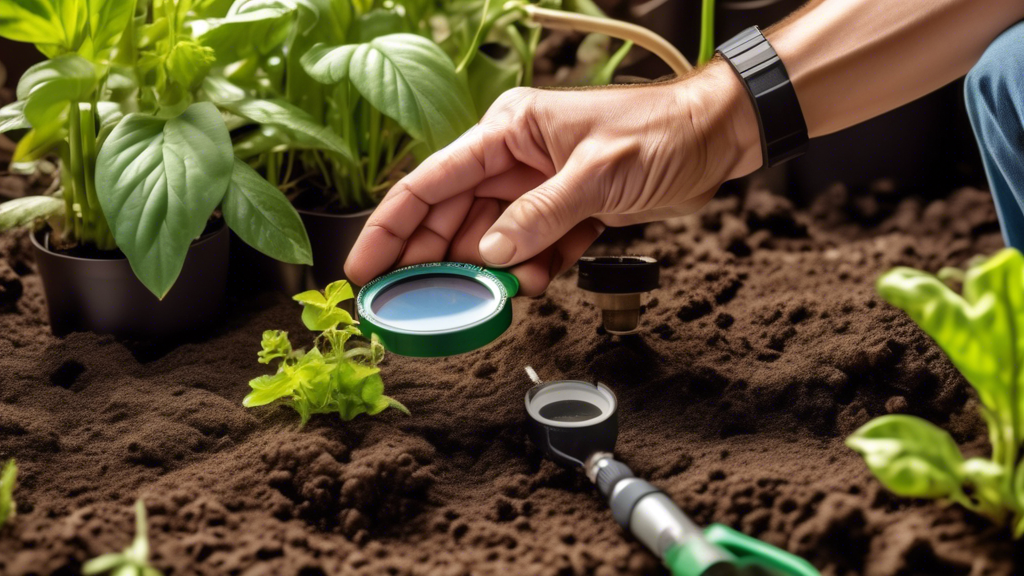
How often should I water my new organic garden?
Answer: Ditch the strict schedule. The most reliable method is the “finger test.” Stick your finger about an inch into the soil. If it feels dry, it’s time to water. It’s better to water deeply and less frequently, encouraging plants to grow strong, deep roots, rather than giving them a light sprinkle every day.
Ready, Set, Grow!
Every expert gardener was once a beginner holding their first seed packet. The most important step is the first one. Don’t feel pressured to do everything at once. Choose one project from this guide that excites you—whether it’s a container of herbs or a simple raised bed—and start your green journey this weekend. You have the power to grow your own food and connect with nature right at home. Happy gardening!