Why Bother? The Hidden Costs of Unhealthy Soil
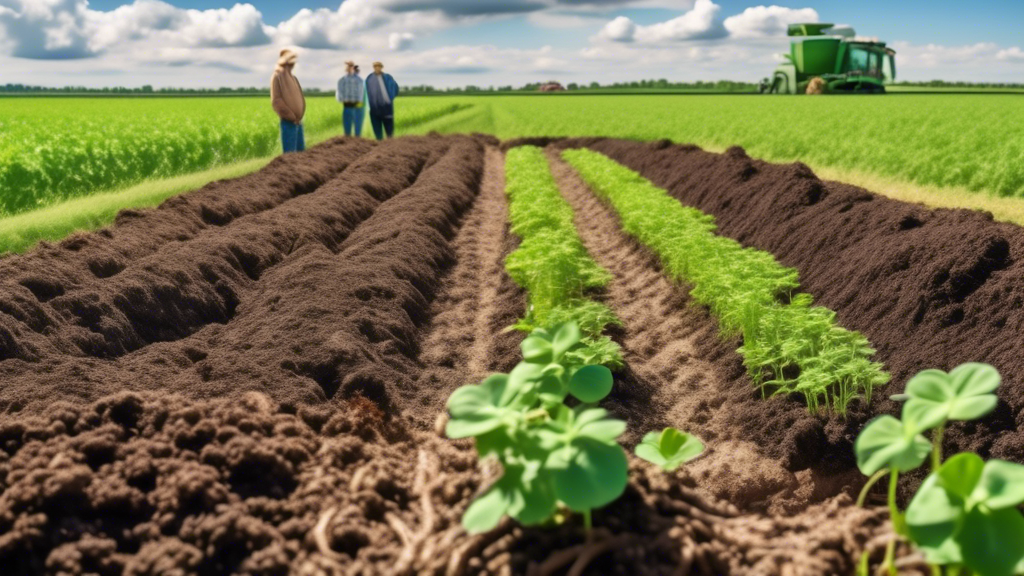
Many gardeners struggle without realizing the root cause lies beneath the surface. Unhealthy soil creates a cascade of problems that drain your time, money, and enjoyment.
Your Soil is Crying for Help: Common Signs
- Soil that is hard, compacted, and cracks in the sun.
- Water pooling on the surface instead of soaking in.
- Plants that are stunted, discolored, or constantly struggling with disease.
- Needing to use more and more fertilizer to get results.
The Ripple Effect: More Than Just Poor Harvests
Neglecting your soil health leads to increased water usage, more money spent on fertilizers and pesticides, and overall garden frustration. It’s a cycle that’s hard to break without addressing the foundation.
Your DIY Soil Health Project Toolkit
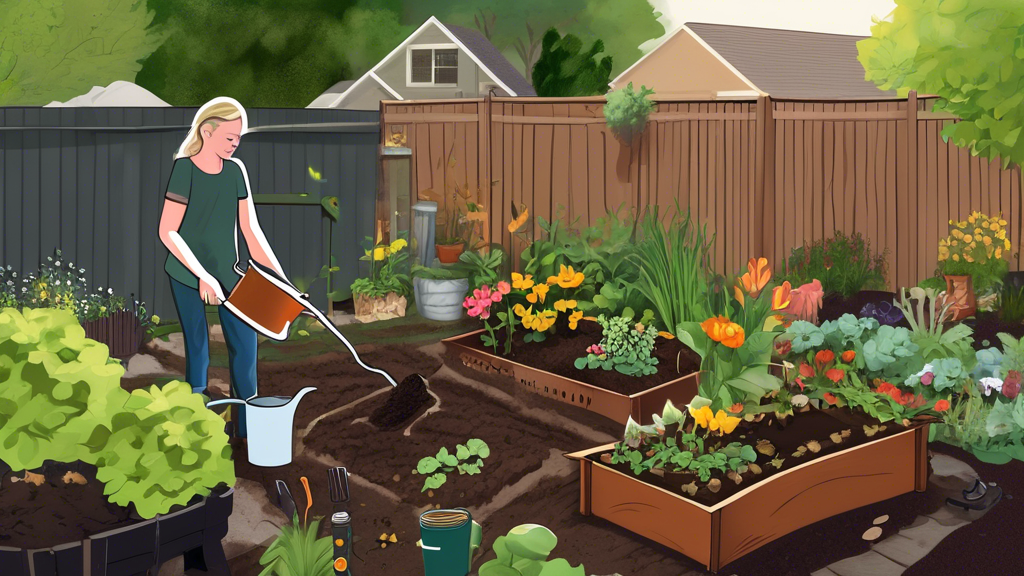
Ready to transform your garden from the ground up? Here are simple, effective projects you can start today.
Project #1: The No-Dig Garden Bed
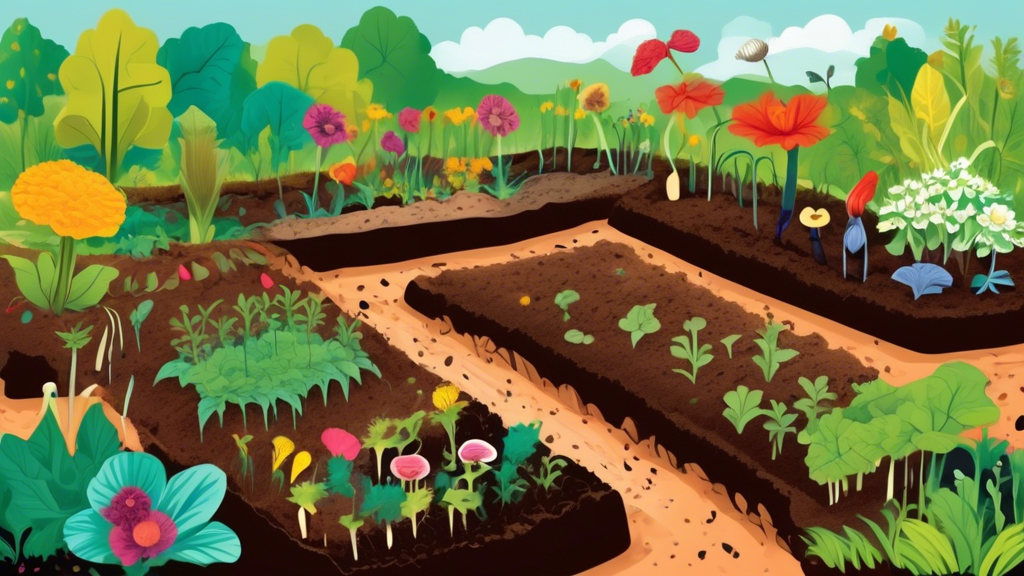
This method minimizes disturbance to the soil’s delicate ecosystem. By layering materials, you create a rich, fertile bed that suppresses weeds and retains moisture.
Simple Steps: Lay cardboard over grass, then add alternating layers of compost, leaves, and straw. Plant directly into the top layer.
Project #2: Brew Your Own Compost Tea
A potent liquid fertilizer teeming with beneficial microbes, compost tea gives your plants and soil a quick, healthy boost.
Project #3: Create a “Leaf Mold” Factory
Leaf mold is simply decomposed leaves and is a fantastic, free soil conditioner that improves structure and water retention.
Project #4: The Power of Worm Castings (Vermicomposting)
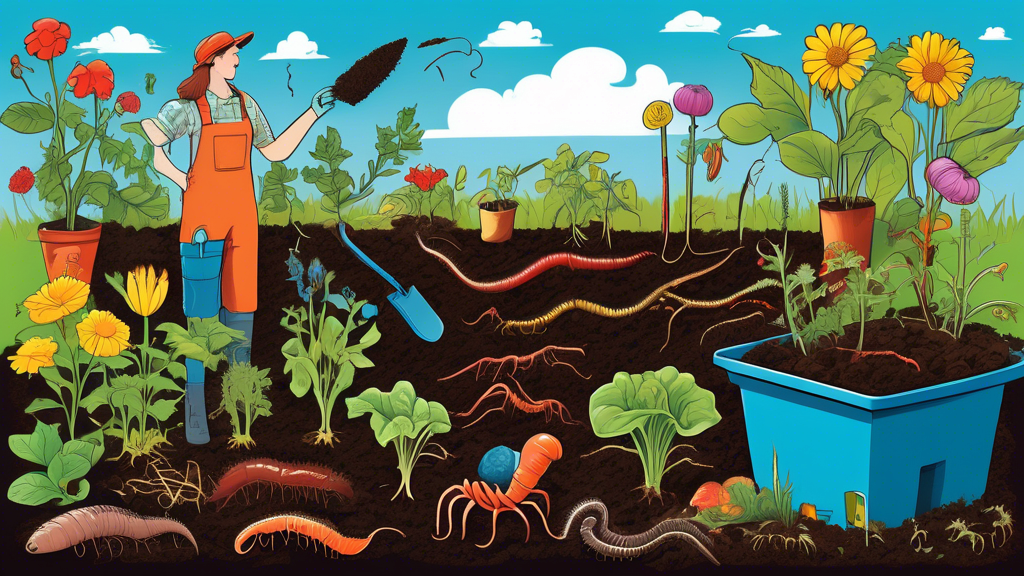
Setting up a small-scale worm bin is easier than you think. The resulting worm castings are a super-powered, nutrient-rich amendment often called “black gold.”
Project #5: Dynamic Accumulator “Weed” Tea
Here’s a secret many gardeners miss: common “weeds” like comfrey, dandelion, and nettle are dynamic accumulators. They have deep taproots that pull valuable minerals from the subsoil that are unavailable to most plants. You can harness this power by fermenting these plants in a bucket of water to create a nutrient-dense fertilizer tea.
Soil Amendments: Builders vs. Boosters
Understanding the difference between long-term soil builders and short-term nutrient suppliers is key to a successful strategy.
| Soil Builders (Long-Term Game) | Nutrient Suppliers (Quick Fix) |
|---|---|
| Examples: Compost, Leaf Mold | Examples: Synthetic & Organic Fertilizers |
| Primary Role: Improve soil structure, water retention, and microbial life. | Primary Role: Deliver an immediate, concentrated dose of specific nutrients (N-P-K). |
| Best For: Creating a resilient, healthy soil ecosystem. | Best For: Addressing a specific, immediate nutrient deficiency. |
The Winning Strategy: Use compost and other builders as the foundation for soil health. Supplement with organic fertilizers only when plants show a specific, diagnosed need.
Frequently Asked Questions About DIY Soil Health
How long does it take to see results from these DIY soil health projects?
Some benefits, like a boost from compost tea, can be seen in weeks. Fundamental changes to soil structure, such as those from no-dig beds, become most apparent after a full season or two.
I have a small balcony. Can I still do these projects?
Absolutely! Focus on space-efficient projects like worm bins (vermicomposting), small-scale compost tea brewers, and container gardening with homemade potting mixes enriched with your own compost.
What’s the single most important thing I can do for my soil?
Add organic matter. This is the non-negotiable cornerstone of all DIY soil health projects. Whether it’s compost, leaf mold, or well-rotted manure, organic matter feeds the soil life that, in turn, feeds your plants.
Are there any materials I should NEVER put in my DIY soil projects?
Yes. Avoid adding meat, dairy, and oily foods to compost piles as they can attract pests and create odors. Also, avoid using pressure-treated wood for constructing garden beds, as it can leach chemicals like arsenic and copper into your soil over time.
Start Your Soil Journey Today
Building healthy soil is an ongoing, deeply rewarding process. By implementing even one or two of these simple DIY soil health projects, you can create a more resilient, productive, and vibrant garden ecosystem. Start small, observe how your plants respond, and enjoy the process of nurturing the living world beneath your feet.

