Why Bother with Indoor Composting? The Benefits Beyond the Bin
Reduce Your Household Waste by up to 30%
Food scraps and yard waste make up a significant portion of what we send to landfills. By composting indoors, you can dramatically reduce the volume of your trash, leading to fewer, lighter, and less smelly garbage bags.
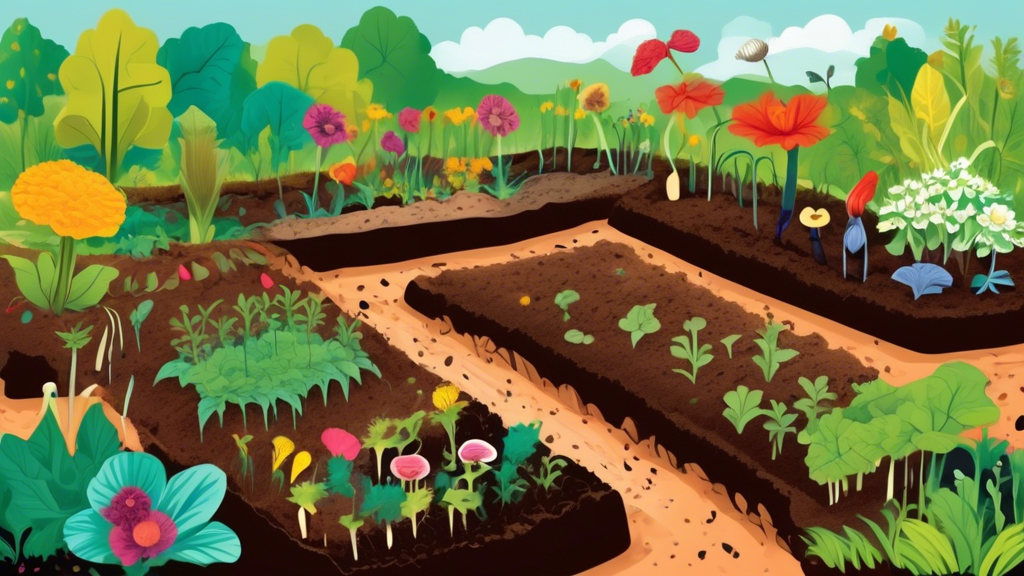
Create “Black Gold” for Your Houseplants and Garden
The end product of composting is a nutrient-rich, soil-like amendment often called “black gold.” This material improves soil structure, provides essential nutrients for your plants, and helps retain moisture, reducing the need for chemical fertilizers and frequent watering.
The Surprising Benefit: How Composting Reduces Your Carbon Footprint
When organic waste decomposes in an oxygen-starved landfill, it produces methane, a potent greenhouse gas. By composting, you’re ensuring this material breaks down aerobically, which significantly reduces methane emissions. You’re also creating a product that helps soil sequester more carbon.
Common Hurdles of Indoor Composting (And How to Clear Them)
“Won’t It Smell Bad?” – The #1 Fear Debunked
A properly maintained compost system should have a pleasant, earthy smell, not a foul odor. Bad smells are usually a sign of an imbalance, most commonly too much “green” nitrogen-rich material and not enough “brown” carbon-rich material, leading to anaerobic conditions. The simple fix is to add more browns like shredded paper or dry leaves and ensure good aeration.
“I’m Worried About Bugs and Pests” – Keeping Your Bin Critter-Free
Fruit flies are the most common indoor pest. To prevent them, always bury new food scraps under a layer of browns or soil and ensure your bin has a tight-fitting lid. For worm bins, avoiding overfeeding and maintaining the correct moisture level will keep other pests at bay.
“It Seems Too Complicated” – Simplifying the Science for Beginners
Composting is simply the act of providing a good home for decomposer organisms like bacteria and fungi. Your main jobs are to 1) feed them a balanced diet (greens and browns), 2) give them air, and 3) keep them moist. You don’t need to be a scientist, just a good host.
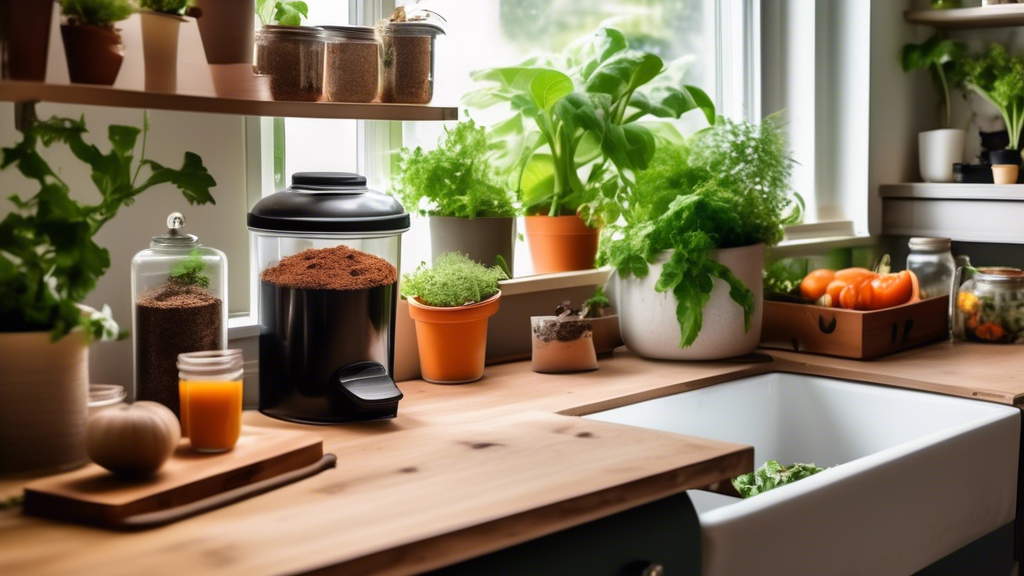
“I Don’t Have Enough Space” – Solutions for Apartments and Small Homes
Modern indoor composting is designed for small spaces. Worm bins can be stored under the sink, Bokashi buckets are about the size of a standard trash can, and sleek electric composters can sit on your countertop. There’s a solution for every square footage.
Choosing Your Method: A Comparison of Indoor Composting Solutions
The Electric Composter (e.g., Lomi, FoodCycler)
These appliances use heat, grinding, and aeration to break down food scraps in a matter of hours.
| Pros | Cons |
|---|---|
| Extremely fast (results in hours) | High upfront cost |
| Minimal odor and mess | Uses electricity |
| Easy to use; minimal learning curve | Produces a dehydrated, sanitized soil amendment, not true, microbially-rich compost |
The Bokashi Bucket System
This is an anaerobic fermentation process that uses a inoculated bran to pickle your food waste.
| Pros | Cons |
|---|---|
| Can compost ALL food waste, including meat, dairy, and bones | Requires a second step (burial in soil or addition to a traditional compost pile) |
| Very compact and space-efficient | Requires ongoing purchase of Bokashi bran |
| Fast fermentation stage (about 2 weeks) | The pre-compost is acidic and needs to finish breaking down |
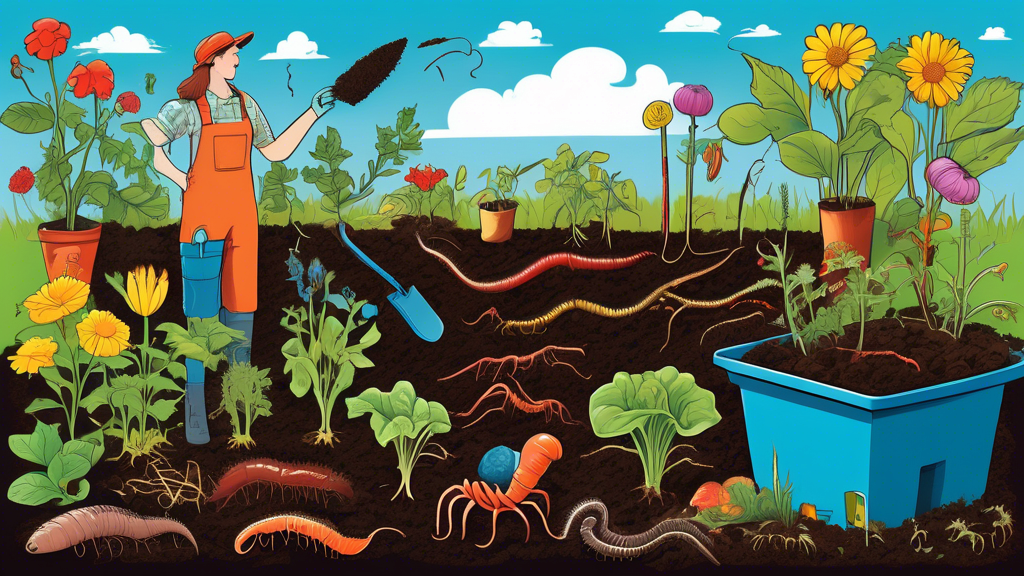
The Classic Worm Bin (Vermicomposting)
This method uses special worms (usually Red Wigglers) to consume and process food scraps.
| Pros | Cons |
|---|---|
| Produces two amazing products: vermicompost and nutrient-rich “worm tea” | Requires care for live worms (temperature, moisture, pH) |
| Quiet, odorless, and fascinating to observe | Worms are sensitive and can die if conditions are poor |
| Can be built DIY for very low cost | Slower than other methods; cannot process large volumes at once |
The DIY Countertop Pail (for Community Drop-Off)
This is the simplest method: collect scraps in a sealed container and take them to a local drop-off site.
| Pros | Cons |
|---|---|
| Ultra-low cost and zero maintenance at home | Requires regular trips to a compost drop-off location |
| No learning curve; just collect and go | You don’t get to keep the finished compost for your own use |
| Great for those who want to divert waste but can’t compost at home | Dependent on the operating hours and location of the drop-off site |
Your Step-by-Step Guide to Getting Started
Step 1: Select the Perfect Spot and Vessel
Choose a convenient spot like under the kitchen sink, in a pantry, or on a utility room shelf. The location should be out of direct sunlight and away from extreme heat or cold. Select your vessel based on the method you’ve chosen from the comparison above.
Step 2: The Golden Rule of Greens and Browns
For successful composting (especially in worm bins and traditional piles), you need a balance of “Greens” (nitrogen-rich materials like fruit/veggie scraps, coffee grounds) and “Browns” (carbon-rich materials like shredded cardboard, dry leaves, paper). A good starting ratio is 1 part greens to 2 parts browns by volume. This balance prevents odors and speeds up decomposition.
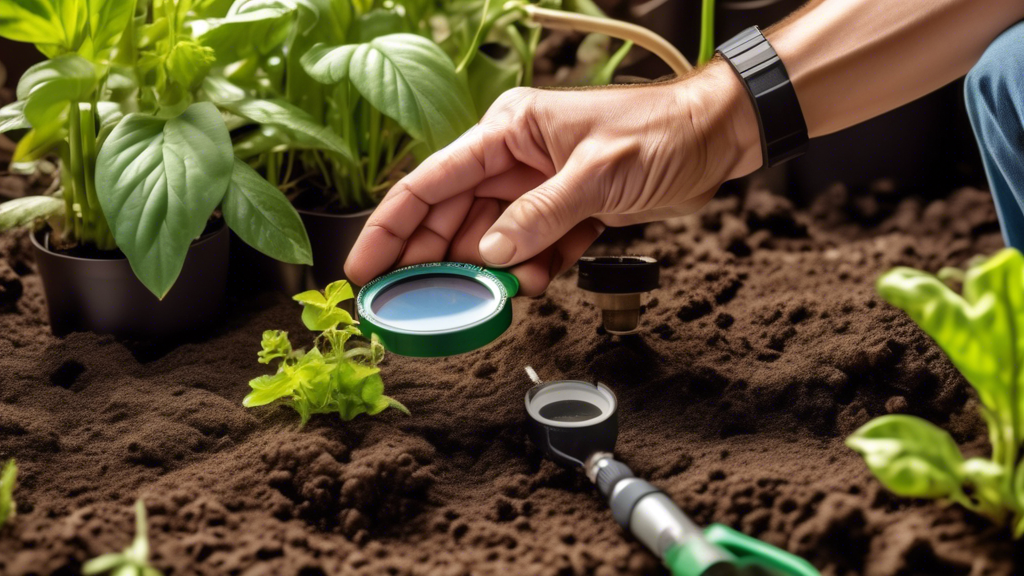
Step 3: Maintenance and Troubleshooting 101
For Worm Bins: Feed worms small amounts regularly, and fluff the bedding to add air. For Bokashi: Press down scraps to remove air pockets and drain the liquid every few days. For all methods: If it’s smelly, add more browns. If it’s too dry, add a splash of water or more greens. If it’s too wet/soggy, add more browns.
Beyond the Basics: Unique Tips for Successful Indoor Composting
The Coffee Filter Trick: A Simple Way to Manage Moisture
Place a used, dry coffee filter on top of the food scraps in your worm bin or countertop pail before putting the lid on. It acts as a barrier that helps absorb excess moisture and deter fruit flies, while still allowing for air exchange.
Don’t Just Throw It In: How Chopping Scraps Speeds Up Decomposition
Increasing the surface area of your food scraps gives decomposer microbes more space to work. Simply chopping your apple cores, potato peels, and other scraps into smaller pieces (1-2 inches) before adding them to the bin can significantly speed up the composting process.
The “Compost Caddy” Secret
Use a small, sealed container (like a ceramic crock or a Tupperware with a lid) on your countertop to collect scraps throughout the day. This prevents fruit flies and makes the process of transferring scraps to your main bin less frequent and more convenient. Empty it into your main bin once or twice a day.
Frequently Asked Questions (FAQs) About Indoor Composting
What can and can’t I put in my indoor compost bin?
Great to add: Fruit and vegetable scraps, coffee grounds and filters, tea bags (staples removed), crushed eggshells, shredded paper/cardboard.
Avoid (in most systems): Meat, fish, bones, dairy, oily foods, and diseased plants. (Note: Bokashi is the exception and can handle all of these).
How long does it take to get finished compost?
This varies greatly by method. Electric composters can produce output in hours. Bokashi ferments in about 2 weeks (but requires additional weeks to break down in soil). Vermicomposting typically takes 2-3 months to produce a harvestable batch of compost.
My compost is smelly/slimy. What did I do wrong?
This is almost always a sign of an overabundance of “green” materials and a lack of oxygen, creating anaerobic conditions. The solution is to mix in a generous amount of “brown” materials (shredded newspaper, dry leaves, cardboard) to soak up excess moisture and reintroduce air pockets.
Can I use the compost from my indoor bin on my vegetable garden?
Absolutely! Compost from worm bins, Bokashi (after it’s finished breaking down in soil), and properly maintained traditional bins is excellent for vegetable gardens. It’s a fantastic, natural fertilizer that improves soil health. The output from electric composters is best used as a soil amendment mixed into potting mix or garden soil.
Conclusion: Turning Kitchen Scraps into Garden Treasure
Indoor composting is no longer a messy, complicated chore reserved for those with large gardens. With modern solutions like compact worm bins, innovative Bokashi systems, and convenient electric composters, anyone can transform their food waste into a valuable resource. It’s a simple, impactful step towards a more sustainable lifestyle, reducing landfill waste and creating “black gold” for your plants. Choose the method that best fits your life, and start your composting journey today.