Why Build Your Own Compost Bin? The Benefits Beyond the Obvious
Challenges of Store-Bought Composters
- High upfront cost for a decent-sized unit
- Flimsy construction that may not withstand the elements
- Limited capacity that doesn’t suit larger households or gardens
- Inflexible designs that don’t allow for easy turning or harvesting
The Unique Advantages of a DIY Approach
- Total Customization: Build a bin that perfectly fits your space, aesthetic, and volume needs
- Cost-Effective: Use repurposed materials like pallets, trash cans, or old fencing for a near-zero cost project
- Durability: You control the materials, allowing you to build a system that will last for years
- The Satisfaction Factor: There’s a unique pride in using compost you created in a bin you built yourself
Choosing Your DIY Compost Bin Style
The Simple Picket Fence Pile (The No-Build Bin)
How it Works: Form a circle or square with wire fencing or snow fencing
Best For: Beginners, large properties, high-volume composting
Unique Insight: This method provides excellent aeration but can be difficult to turn. A pro-tip is to have two fencing enclosures side-by-side; once one is full, you can easily fork the material into the second bin to turn it.
The Wooden Pallet Bin (The Classic Workhorse)
How it Works: Screw or wire together 4-5 wooden pallets to form a box, often with a removable front slat for easy access
Best For: Gardeners with a steady supply of materials, those who want a sturdy, permanent-looking bin
Unique Insight: Source heat-treated (HT) pallets only, not chemically treated (MB) ones, to avoid introducing toxins into your compost and garden.
The Trash Can Tumbler (The Urban Solution)
How it Works: Drill aeration holes in a large garbage can and roll it to mix the contents
Best For: Small spaces like balconies and patios, people who want to deter pests
Unique Insight: For faster decomposition, paint the bin a dark color (like black or dark green). The sun will heat the plastic, acting as an insulator and significantly speeding up the microbial activity inside.
The 3-Bay System (The Composter’s Dream)
How it Works: A series of three adjacent bins for “fresh,” “active,” and “finished” compost, allowing for a continuous, organized workflow
Best For: Serious gardeners with large amounts of yard and kitchen waste
Unique Insight: This system mimics large-scale commercial composting operations, allowing you to manage the entire lifecycle of your compost without ever stopping the input of new materials.
Head-to-Head: Comparing Your DIY Compost Bin Projects
| Comparison Category | Winner | Runner-up | Key Reason |
|---|---|---|---|
| Ease of Building | Trash Can | Pallet Bin | Requires only a drill vs. needs basic tools like hammer/drill |
| Composting Speed | Tumbler | Stationary Pile | Easy, frequent turning incorporates oxygen more efficiently |
| Capacity and Scalability | Multi-Bay System | Single Bin | Unbeatable for volume and workflow management |
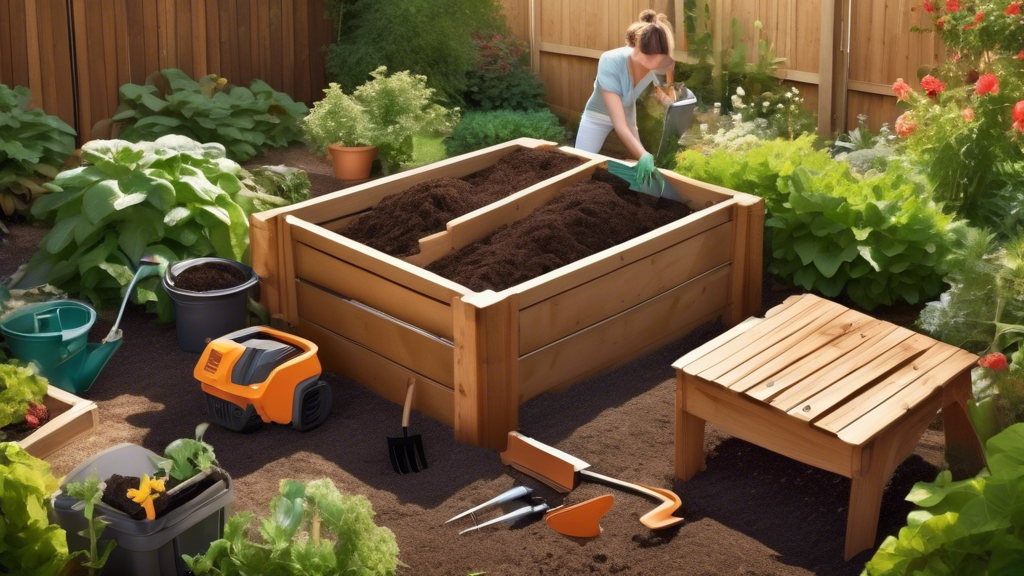
Your Step-by-Step Guide to a Simple Pallet Bin
- Gather Materials: 4-5 HT pallets, screws, hinges (for a gate), and a drill
- Site Selection: Choose a level, well-draining spot with partial sun
- Assembly: Form three sides into a “U” shape. Attach the fourth pallet with hinges to act as a door
- Pro-Tip: Leave small gaps between the slats of the pallets; this provides crucial passive aeration, reducing the need for frequent turning
Troubleshooting and Pro-Tips for a Thriving System
Solving Common Issues
- Problem: Smelly Bin. Solution: Likely too wet and/or not enough “browns.” Add dry leaves, shredded cardboard, and turn the pile
- Problem: Pests (Flies, Raccoons). Solution: Bury food scraps under a layer of browns and ensure your bin has a secure lid or cover
- Problem: Compost is Too Cold. Solution: Pile is too small or dry. Add more material, moisten, and ensure a good mix of greens and browns
The Unique “Compost Recipe” Hack
Most people know the “greens” (nitrogen) and “browns” (carbon) rule. A unique tip is to think of shredded cardboard and paper (non-glossy) as your “brown” super-ingredient. It’s highly absorbent, helps prevent matting, and is something almost everyone has in abundance, making it easier to maintain the ideal carbon-to-nitrogen ratio.
Frequently Asked Questions (FAQs)
What should I NEVER put in my DIY compost bin?
Meat, bones, dairy, fats/oils, diseased plants, pet waste, and glossy/colored paper. These can attract pests, create odors, or introduce pathogens.
How long does it take to get finished compost?
It can range from 2 months to a year, depending on the bin type, the mix of materials, how often you turn it, and the weather. Tumblers and well-managed piles are fastest.
Do I need to add worms to my bin?
Not necessarily. If your bin is on the ground, worms will find their way in. For enclosed tumblers or very hot piles, worms aren’t suitable. What you’re building is a “cold” or “hot” compost system, which is different from a dedicated worm farm (vermicomposting).
Can I compost in the winter?
Yes! While the process slows down dramatically, the core of a large pile can remain active. Insulating your bin with straw bales or moving to a black plastic tumbler can help extend the season.